In this tutorial, we will discuss the importance of markups for effective communication and collaboration in 3D design and modeling. Markups allow you to annotate and highlight specific features of a 3D model, enabling clear communication between team members. The goal of this tutorial is to teach you how to create markups on an STL 3D model using 3DVieweronline.
To begin, you will need to upload your STL 3D model to 3DVieweronline. The platform supports various file formats, including STL, OBJ, PLY, STEP and IGES with a maximum file size of 50 MB for free users. Click the “Upload” button on the top right corner of your account page and select (or drop) your 3D model file to upload.
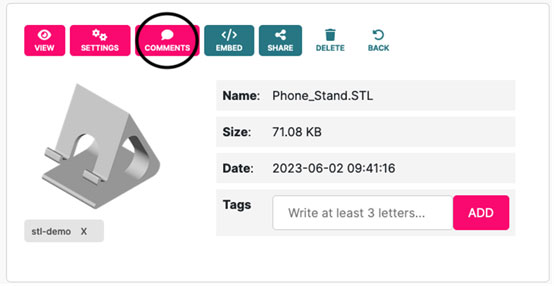
Once your model is uploaded, locate the comments tools in the 3DVieweronline interface. Markups are part of the commenting features, which are available on your account page. Comments and markups are available only to Premium or Business users, however you can activate a 14 days trial period to test all of 3DVieweronline features at any time. You can open the commenting features from your account page by clicking the comments icon.
The 3D Viewer will be then loaded with the commenting features enabled. You can find the markup tool on the right side of the screen in the comments section when creating a new comment. To create a new comment, simply click on the “Add a comment” textbox.
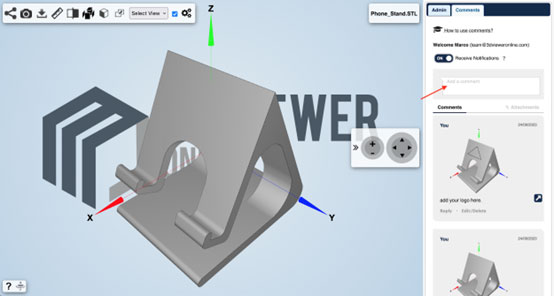
A preview of the 3D model will be then automatically created just above the textbox.
You can click on the pencil icon on the top left part of the 3D model preview to open the markup tool.

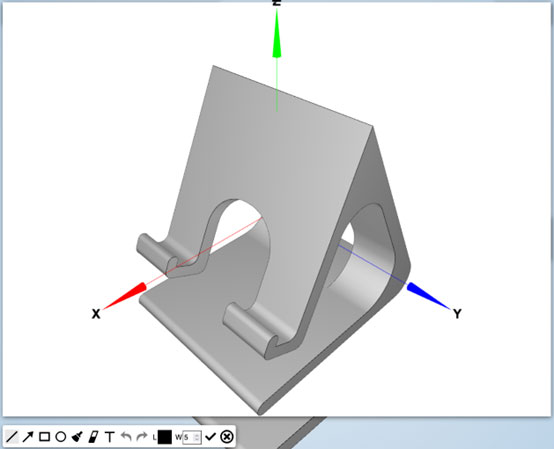
Select the desired markup type by clicking on the corresponding icon. The available markup types include arrows, text, points, and more. Each markup type has its specific applications, depending on the information you wish to convey about the 3D model.
To create a markup, follow these steps:
1. Select the desired markup type from the markup tool options.
2. Click on the 3D model picture to place the markup.
3. For text markups, type your annotation in the text box that appears.
4. Customize the appearance of your markup by adjusting its color, size, and other properties.
Tips for creating clear and effective markups:
– Choose contrasting colors to ensure your markup is easily visible against the 3D model.
– Adjust the size of your markup to make it legible and prominent without obscuring important features of the model.
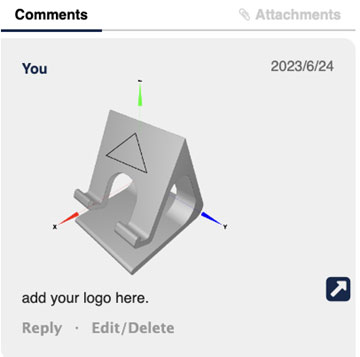
To save the markup, you need to click the Check/OK button at the bottom right part of the markup window, and then post the comment. A new comment associated with that markup will be created. You can also add text to the same comment if desired.
To better understand how to create and publish new comments, have a look at the “How to exchange feedback on a STL 3D model” tutorial.
Step 5: Edit and Manage Markups
If needed, you can delete markups by deleting the associated comments.
In this tutorial, we have covered how to create markups on an STL 3D model using 3DVieweronline. Markups play a crucial role in effective communication and collaboration in 3D modeling, allowing you to clearly convey your thoughts and ideas to your team members. We encourage you to explore other features and functions of 3DVieweronline, such as sharing models and receiving feedback, to further enhance your collaborative 3D design experience.